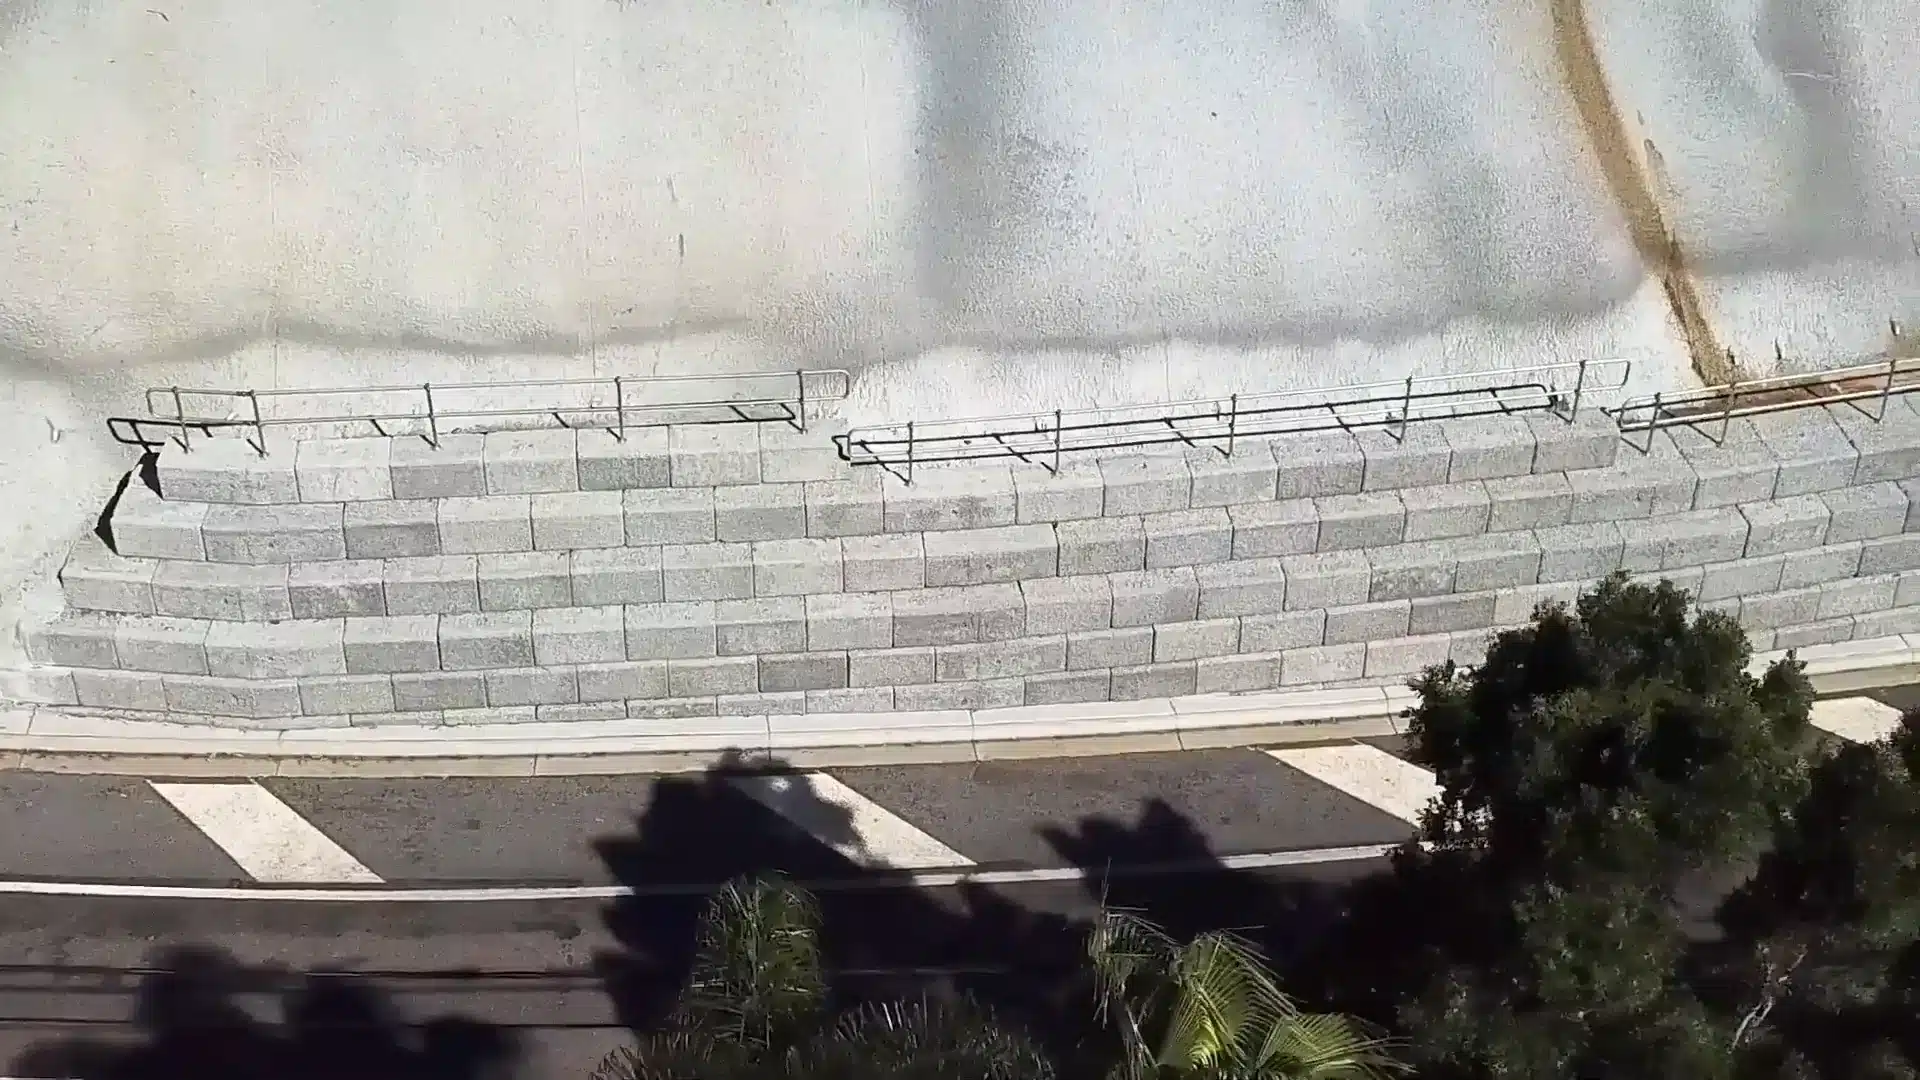
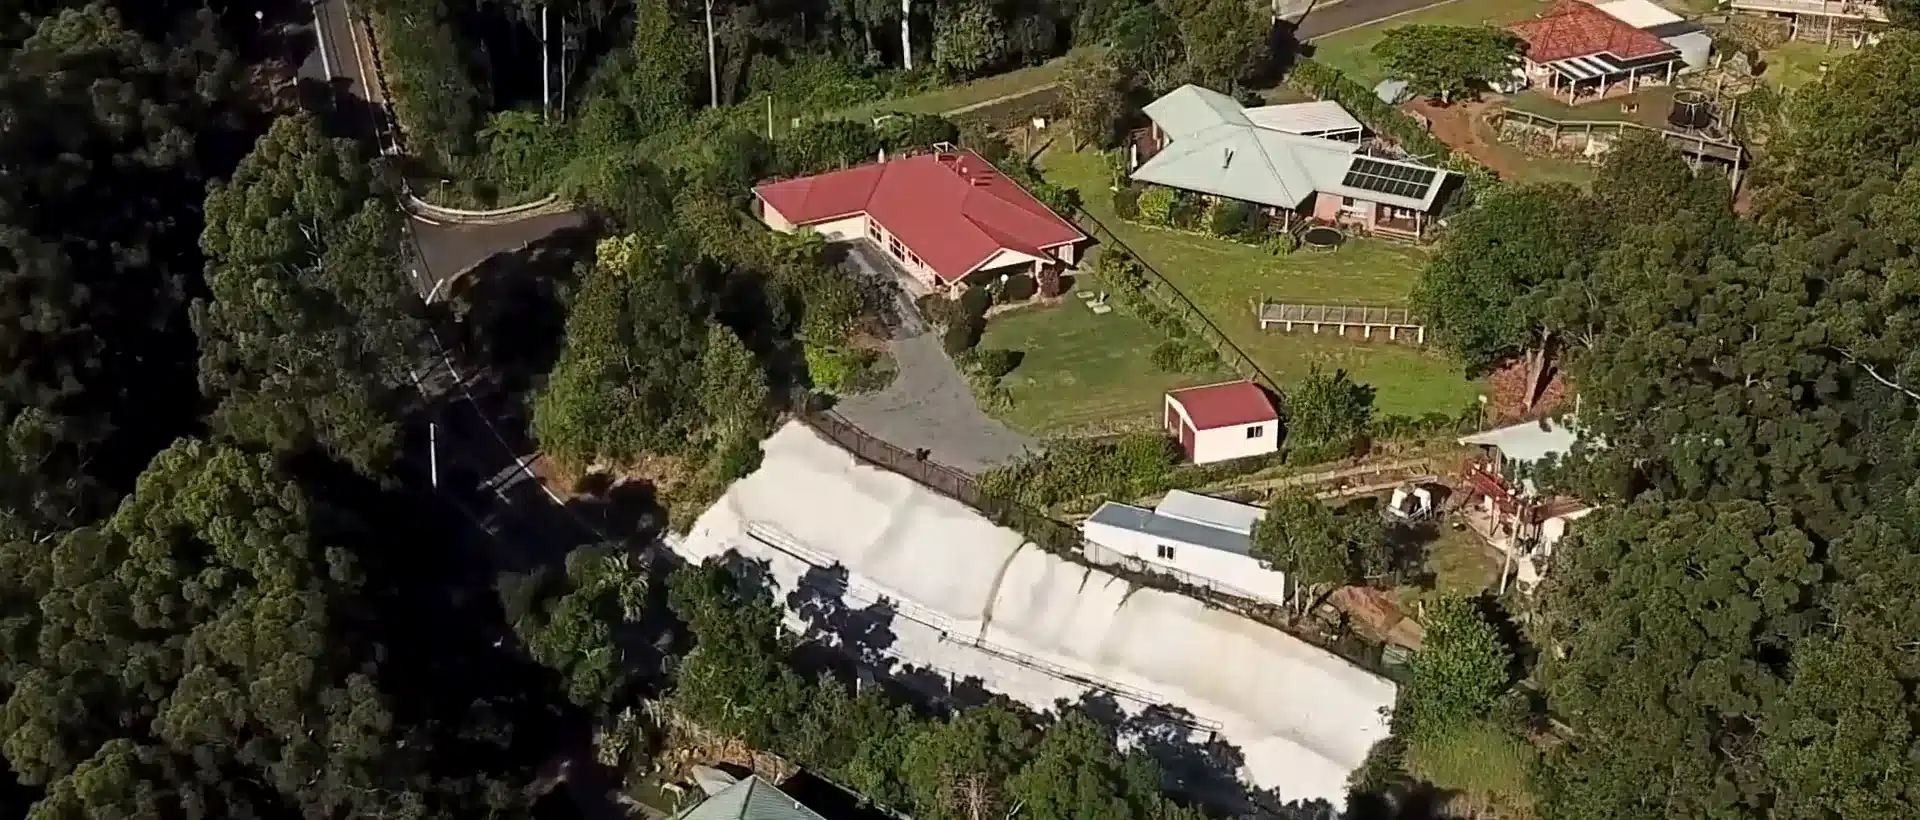
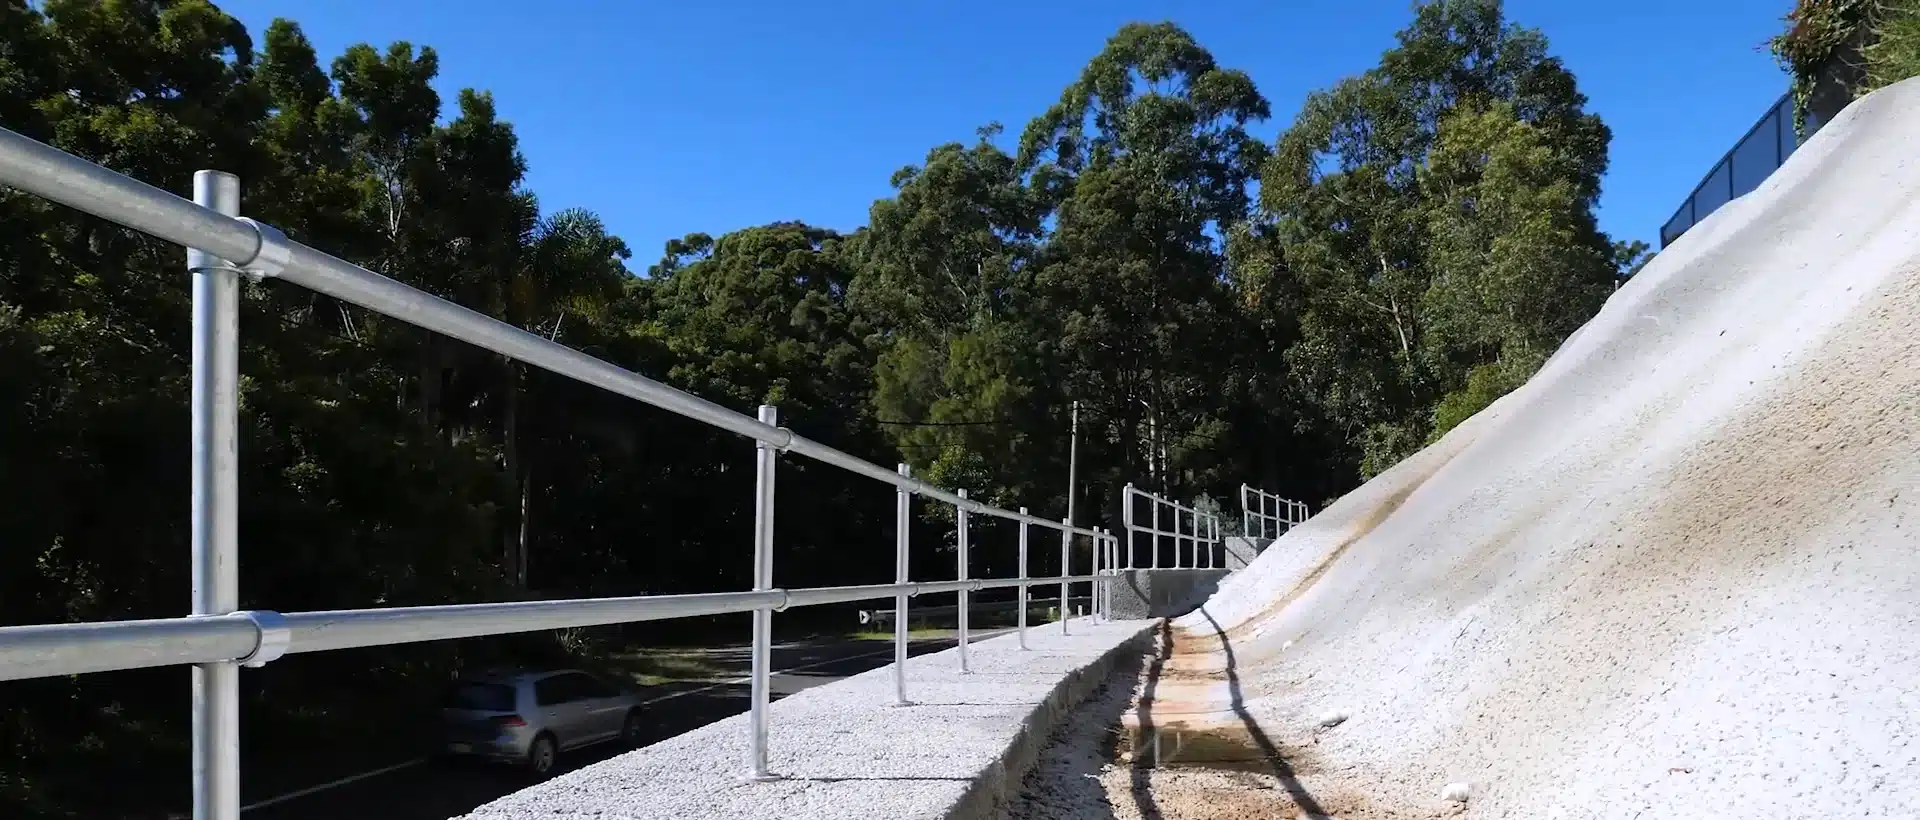
The handrail installation on Henri Robert Drive had to follow a bend in the road. Landslip remediation at Tamborine Mountain called for a permanent handrail along the top of concrete blocks. The challenge was fitting the rail to the changing alignment without drilling into the finished concrete or welding the rails at the roadside.
The handrail installation on Henri Robert Drive had to follow a bend in the road. Landslip remediation at Tamborine Mountain called for a permanent handrail along the top of concrete blocks. The challenge was fitting the rail to the changing alignment without drilling into the finished concrete or welding the rails at the roadside.
The top of the concrete blocks defined where the handrail needed to sit. Along a bend, each run of rail points in a slightly different direction. If the posts are set out independently of the rail joints, the fixings can be in the right place on the concrete and still leave the installer with sections that do not line up.
Custom-fabricated rails were an option, but they would have meant producing rail sections to suit the curve. The NON-DRILL approach used standard straight sections and dealt with the changes in direction at the joints. That made the rail layout a design decision the team could resolve before arriving at the roadside.
The installation formed part of landslip remediation along Henri Robert Drive at Tamborine Mountain in the Gold Coast hinterland. The project video explains how the team used grouted posts and pivoting connections to fit the permanent rail to the curve.
The Solution
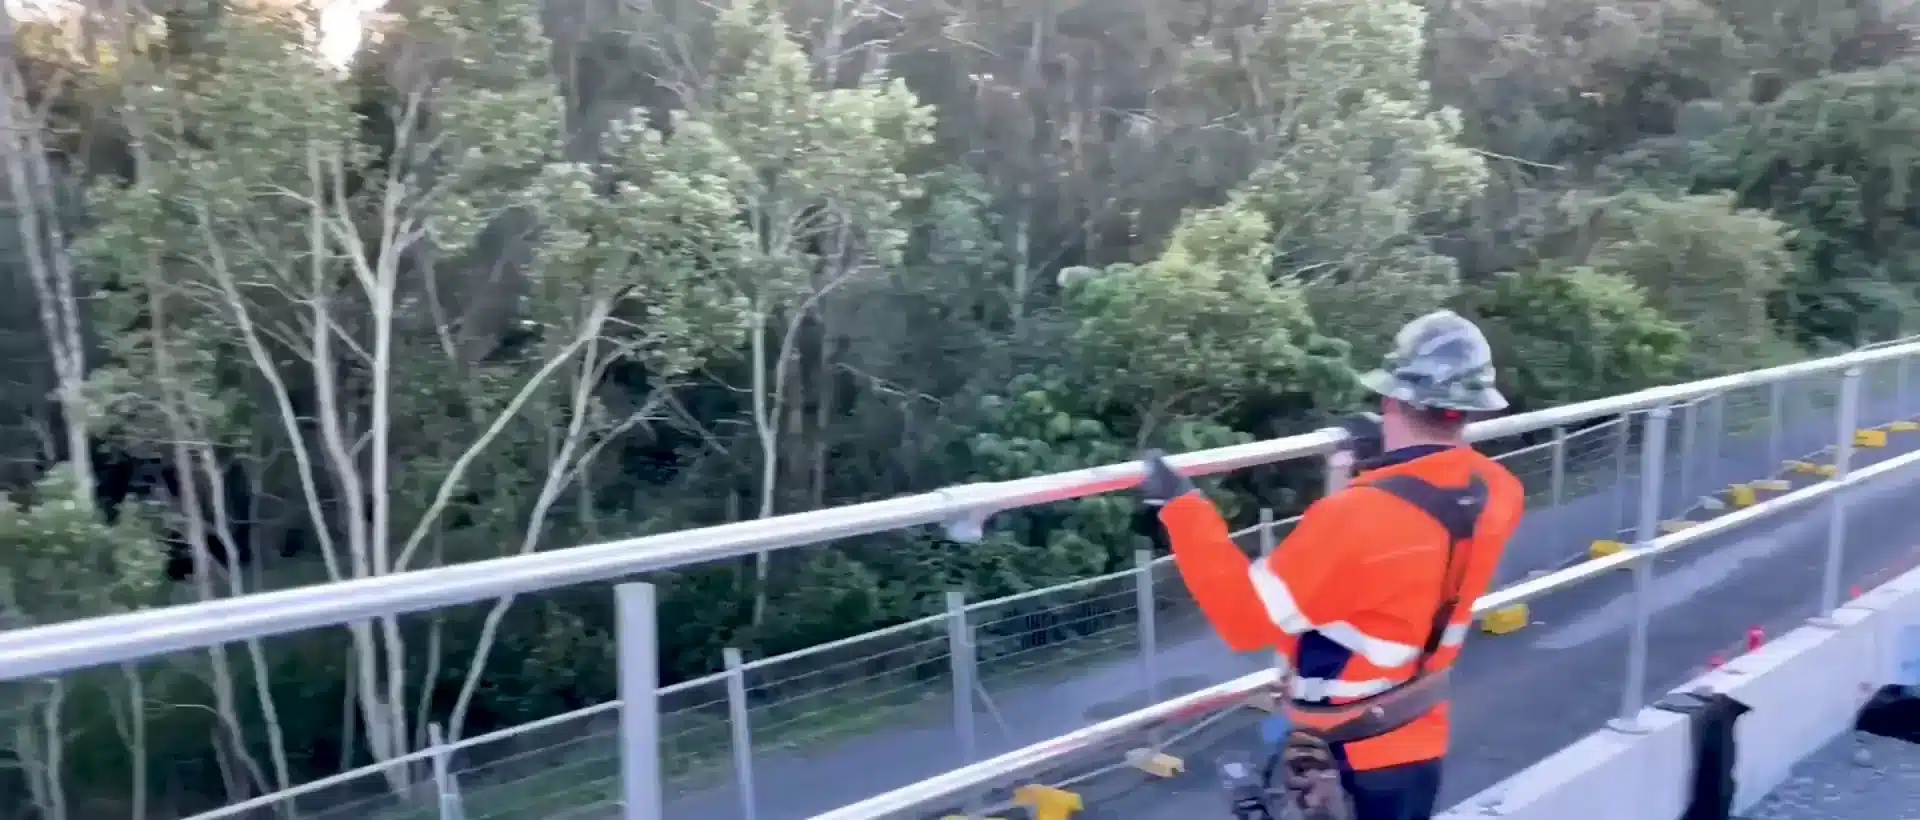
We worked with local authorities and specialist installers to bring the NON-DRILL handrail system into the design early. Anchors set within the blocks gave the posts a place to connect, and pivoting connectors joined straight sections around the bend. The crew installed the handrail in less than half a day.
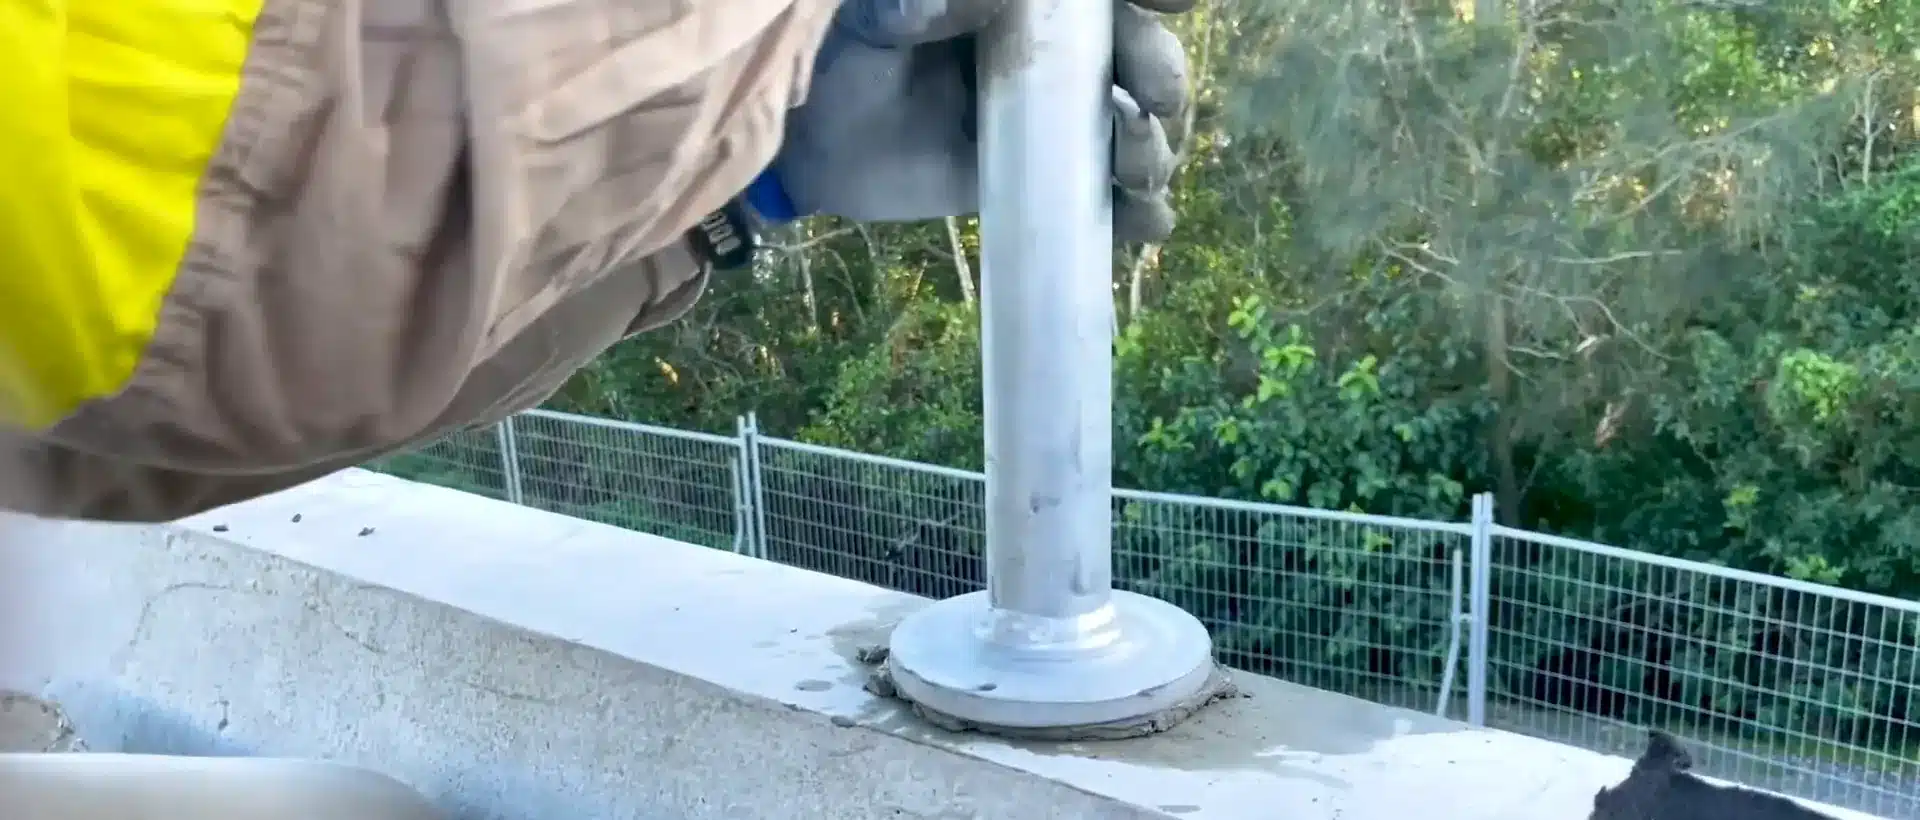
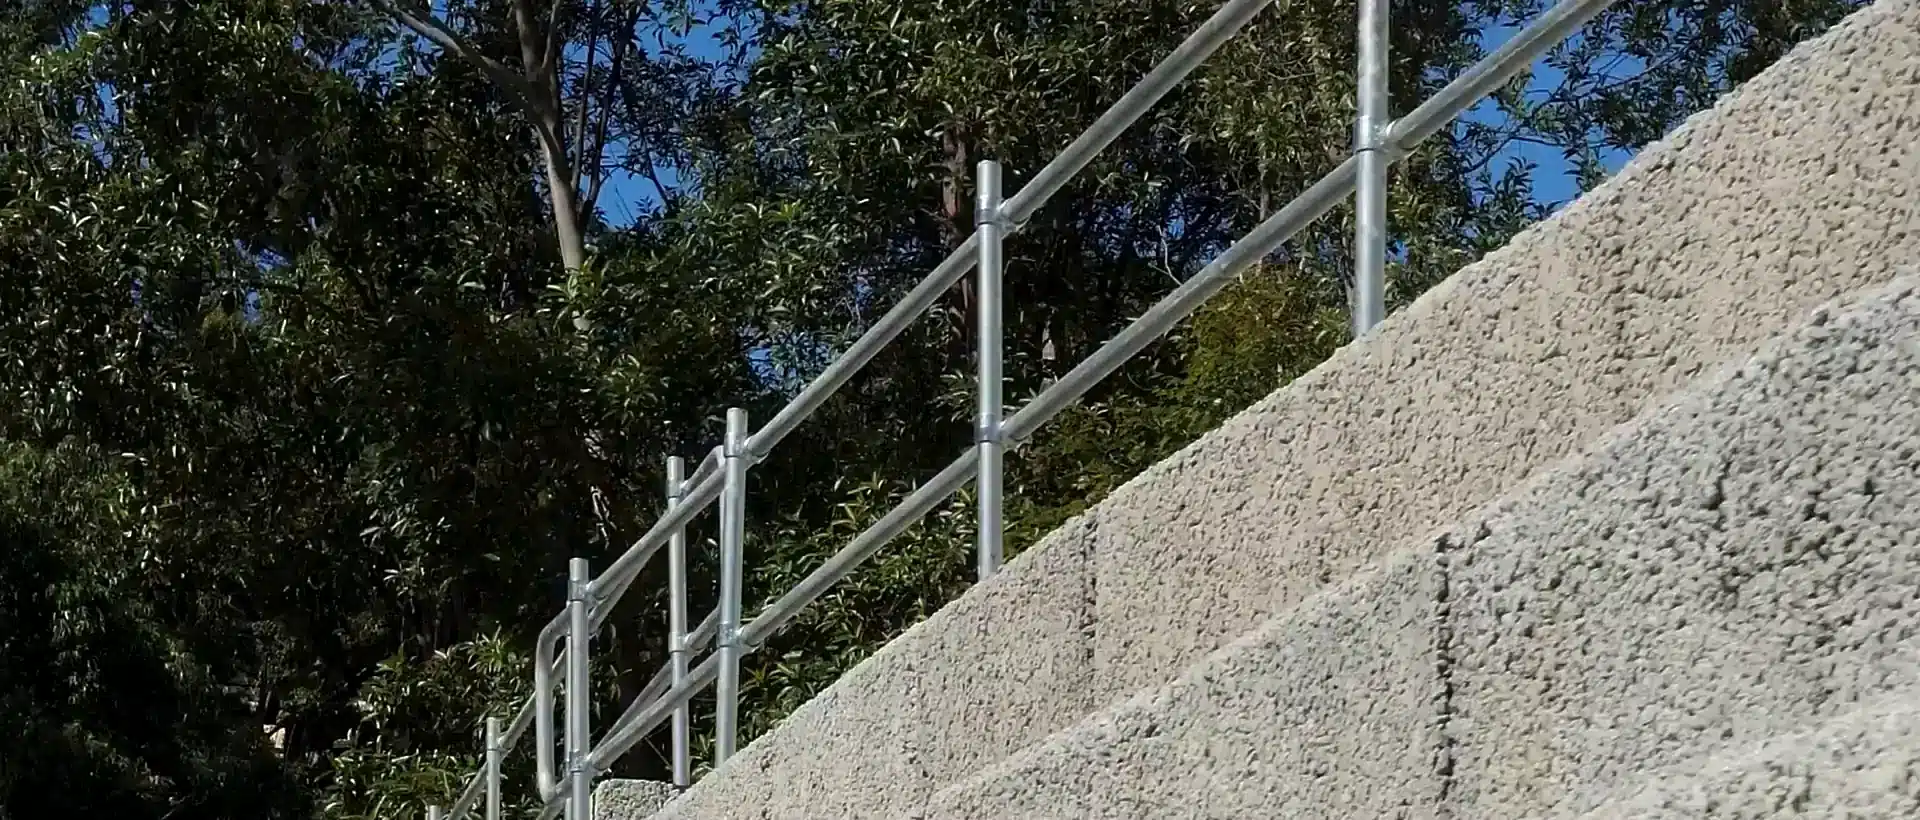
The team set the anchors within the blocks as part of the concrete detail. When it was time to install the handrail, the posts could be fitted at the planned positions and grouted in place for permanent use. The crew did not have to drill new holes into the finished blocks.
Planning the anchor positions also tied the handrail layout to the curve. The team could set out where each post would sit relative to the block edges and where the rail needed to change direction before work began on site.
Pivoting Connectors Between Straight Sections
The handrail follows the bend through a series of straight sections. Pivoting connectors accommodate the change in angle where the sections meet. The rail follows the concrete alignment without having to fabricate each section to match the curve.
The mechanical connections also kept on-site welding out of the rail installation. With the post positions already defined, the crew could focus on fitting the posts, lining up the rail sections and making the connections.
The Outcome
The installation took less than half a day. The team had already resolved where the posts went and how the rails would meet, so those decisions did not have to be made during the roadside works.
That shorter installation reduced the labour, installation and traffic management costs associated with the handrail works. For a road project, the benefit of planning the handrail early is practical: there is less work to do beside the road when the crew arrives to fit it.
Key Summary
Anchors set within the blocks let the crew grout the posts in place without drilling into the concrete.
Pivoting connectors linked straight rail sections to follow the changing alignment.
Early coordination of the blocks, posts and rails helped the crew complete the installation in less than half a day.
Planning a Handrail for a Curved Concrete Edge
Start with a plan and section of the finished edge. The plan shows where the alignment changes direction. The section shows the width and shape of the concrete available for the connection. Use both to work out where posts and rail joints need to sit.
On a new concrete element, bring the fixing detail into the design before the blocks or barriers are made. On an existing structure, confirm what can be used for a connection and have the supporting concrete assessed for the proposed handrail. Include the space needed to install the rail and the work window available beside the road.
Bring the Handrail Detail Into the Design
Send SafeSmart your drawings if you are planning a handrail for a curved concrete edge. Include the alignment, concrete sections and any limits on drilling or welding so we can review the rail layout and fixing options together.
Captured process
Tamborine Mountain NON DRILL handrail — site overview
Tamborine Mountain NON DRILL handrail — road alignment
Tamborine Mountain NON DRILL handrail — post connection
Tamborine Mountain NON DRILL handrail — installation
Tamborine Mountain NON DRILL handrail — completed handrail
Tamborine Mountain NON DRILL handrail — retaining wall handrail